Google Translation

Showing posts with label Project 6D. Show all posts

Tuesday, September 7, 2010

Project 6D: Resources


Here are a list of both online and local resources that I have used during the renovation process.
For those of you who need the information here: congratulations and GOOD LUCK!
(You really really need it!)

Just remember, there WILL be ending in sight, and the end result will be so rewarding that you almost can imagine yourself doing it again.

Online Resources for renovation & decoration ideas:
Online Stores that I love: 
  • PlumberSurplus.com: Good resources for bathroom supplies. Do compare shop. 
  • AJMadison: A good place to start your search on household electrical appliances. Compare shop for better pricing.
  • Rejuvenation.com: I love their lighting fixtures. Great company with excellent products. 
  • Flor.com: An alternative solution to traditional carpets or area rugs.
Local Lumber & Hardware stores:
  • Lowe's Brooklyn: 118 2nd Ave, Brooklyn, NY (718)249-1151. The only Lowe's in NYC. 
  • Home Depot: Has a few stores in NYC, Flushing location has more inventories. 
  • Dykes Lumber: Great place to find crown mouldings & baseboards. 
  • Metropolitan Lumber: Another store that has great selections supplies. 
  • Collage Point Blvd in Flushing: Many building material and stone shops on this strip.  Great place to start doing your homework. 
Local Wall Solutions: 
  • Janovic Plaza on east side: 888 Lexington Ave at 66th Street.  Great selection of wallpapers. 
  • Gleason Paint Place: 65-01 Roosevelt Ave, Woodside NY.  Staffs are very knowledgeable and helpful. 
Local Upholstery & Drapery Fabrics:
Last but not least, a big shout out to the following people for making our apartment a lovely home!
  • Richard Morin -- The master mind behind our entire renovation project and made the magic happen. 
  • Daniel Chen -- Dan is the owner of Danken Studio that specialize in custom designed cabinets and furnitures. He made all of our custom built shelvings and breakfast nook. 
  • Natalie Vichnevsky -- Natalie owns a home decor store, Golden Calf in Williamsburg, Brooklyn.    She provides furniture restoration, upholstery, and interior design service and made all the custom made cushions for us. 


Thursday, September 2, 2010

Project 6D: Kitchen


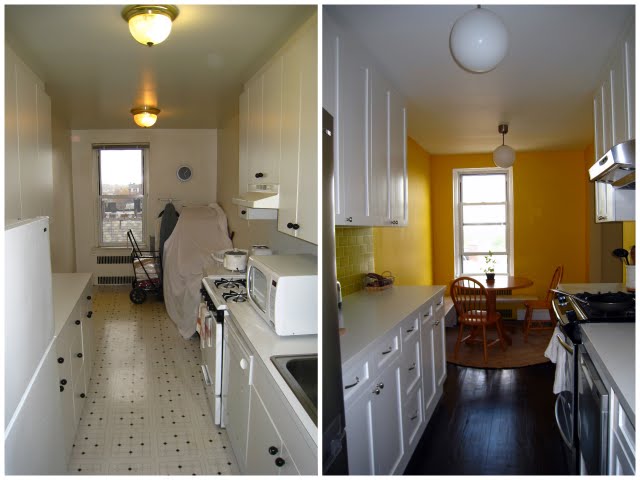
BEFORE                &                 AFTER

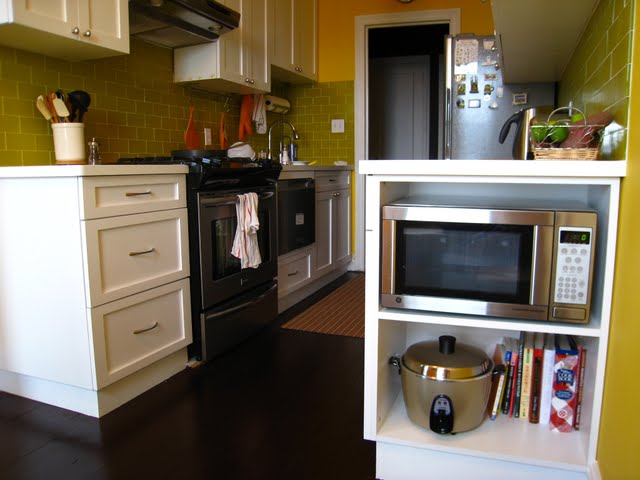
The Kitchen went through extensive renovation:
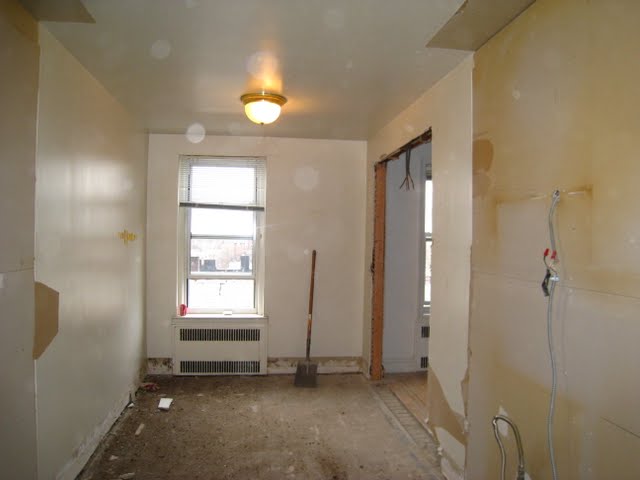
We gutted down the entire kitchen, ripped out the ugly vinyl flooring, took down the old cabinets, threw away the outdated appliances, and opened up partial walls connecting the living room.


There were endless decisions to be made:
appliances, counter tops, faucets, back splash, lights, cabinet door styles, door pull & knobs... and etc.
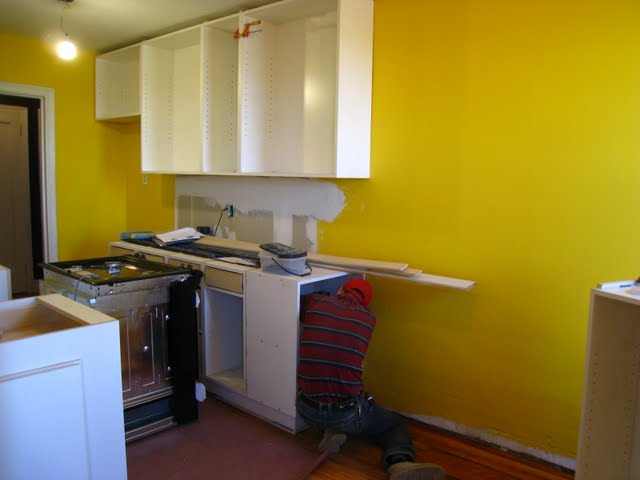
We picked out the appliances. Our friend R helped us designed the new cabinets and had the cabinets custom-made.


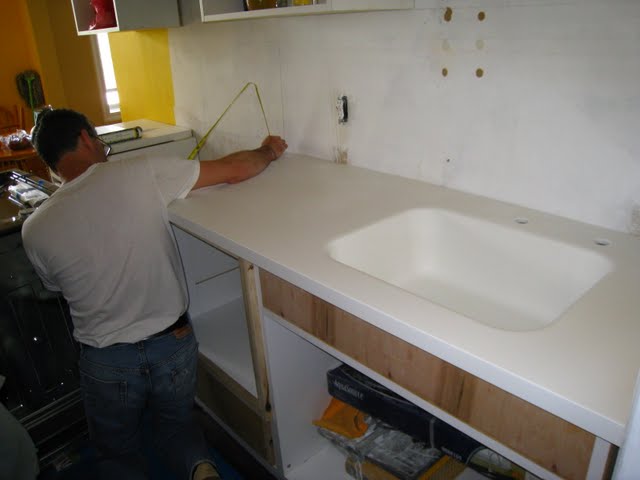
As much as I LOVE the marble counter top, I was a little intimidated by the maintenance required.
We decided on the Corina counter top with integrated sink for its seamless, easy-to-clean advantage, and hygiene aspect. 


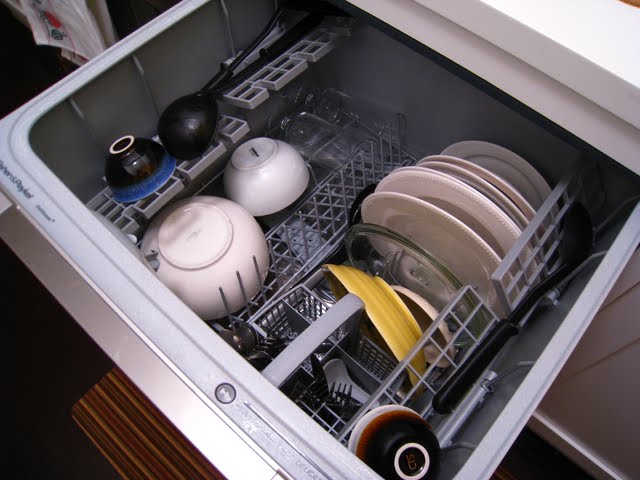
One of my favorite appliances in the kitchen is the dishwasher drawer.
The size is perfect for two people who do not cook often.
The machine was so quiet that you barely hear any sound at all when it was running.


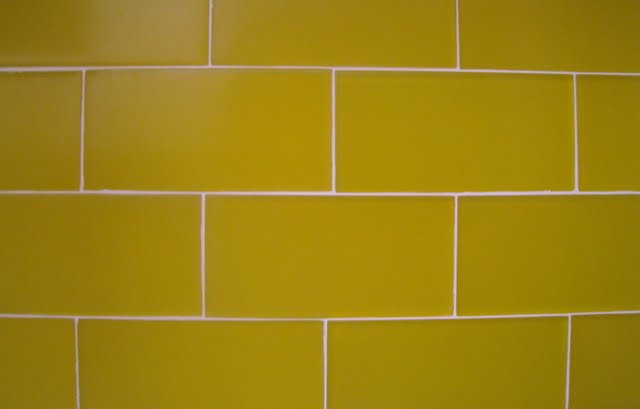
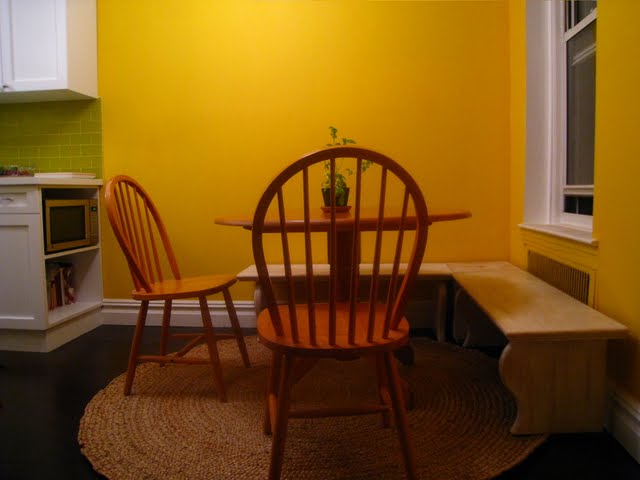
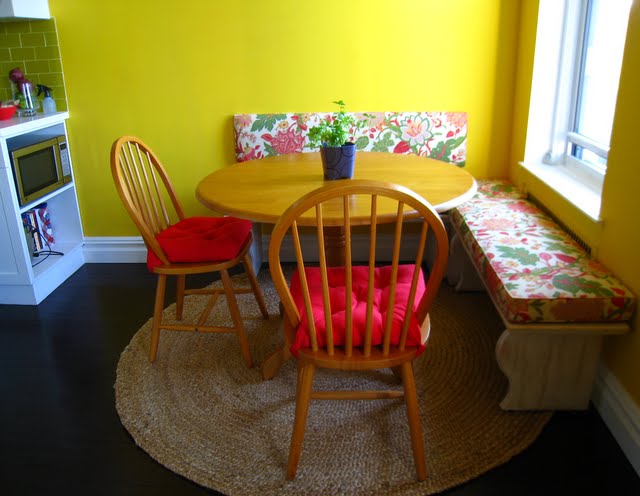
I wanted a yellow kitchen, and was looking around forever to have finally found the yellow subway glass tiles.


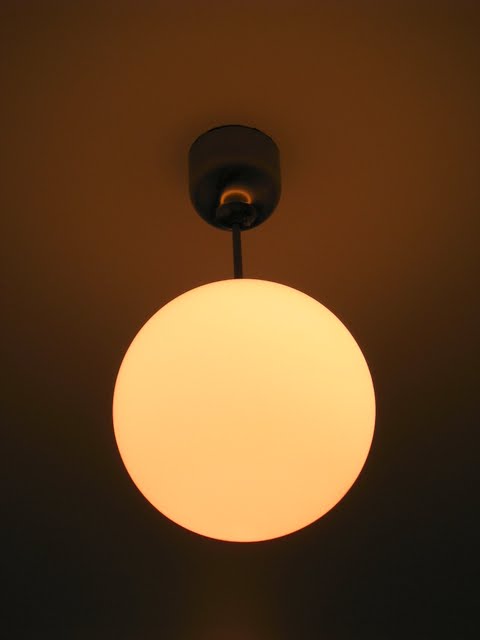
I love these adorable globe ceiling lights for the kitchen.


I wanted open shelves for the Microwave & cooking books.
Most of the cooking books are gifts from friends, and I probably used three receipts all together.


On the end of the kitchen by the window, we were excited to get a breakfast nook.
The breakfast nook was custom made to fit our window corner.


Wait! It's not over.
I had to look for the right fabric and find the upholsterer to make the cushions and back rest to get the complete look.


Well, technically, it is STILL not completed...
Another cushion for the corner, and I am thinking about cafe curtain for the window maybe.
But I am running out of steam and need a break!


Friday, August 27, 2010

Project 6D: Living Room


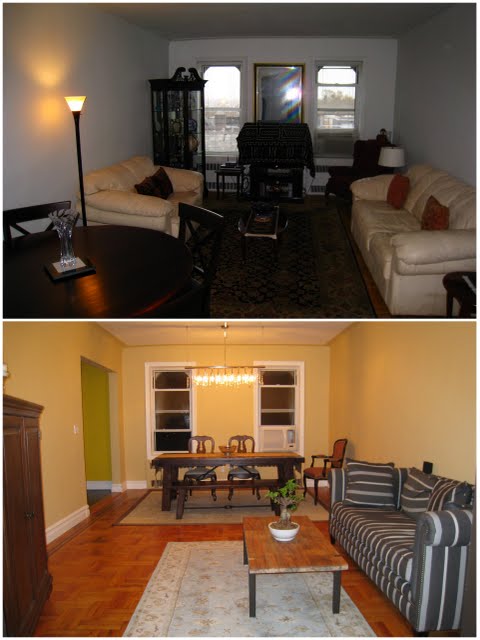
BEFORE & AFTER


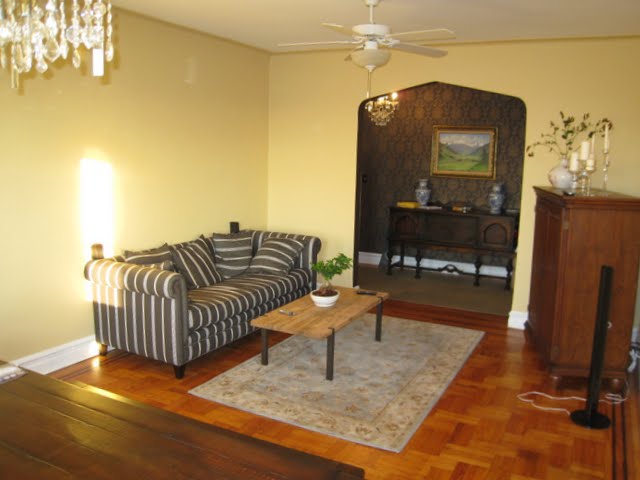
We opened up partial wall between the living room to the kitchen. 
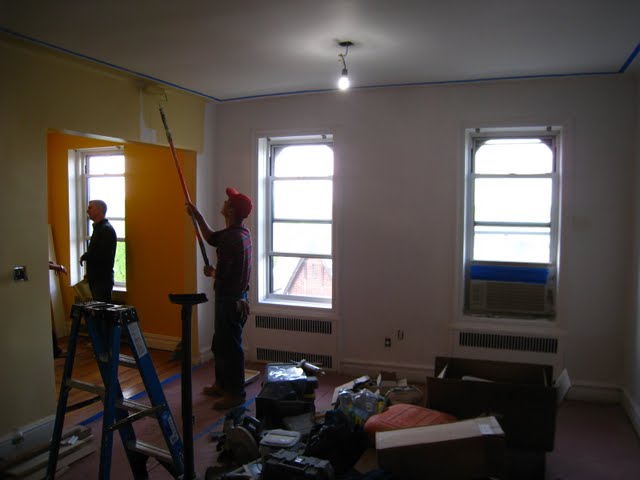
Finding the right paint color turned out to be quite a challenge as there are millions of colors available. 
I want a color that would match well with the kitchen yellow but enough distinction to separate the two rooms. 
The color also has to be a reasonable transition from the entrance.
Even though I am not a big fan of beige color on the wall, but in this case, beige seems to make sense. 
The lighting fixture installed, wall painted, floor sanded, stained, and polished. 
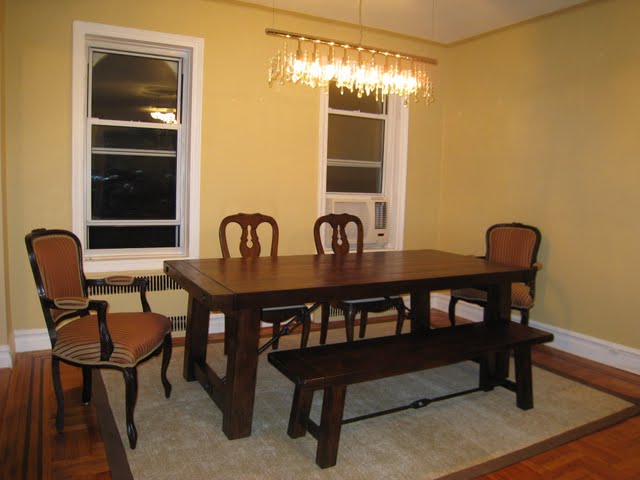
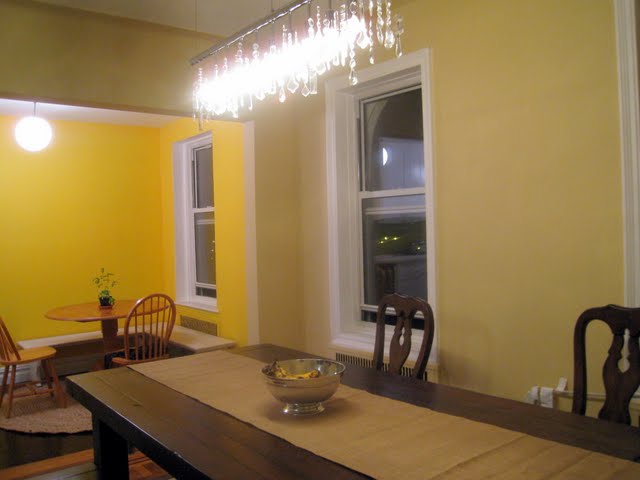
I wanted the modern chandelier since I first lay my eyes on it in 2005. 
We LOVED the look of a big farmhouse table and saw some to-die-for salvaged wood farm tables. 
Unfortunately, the prices of those salvaged wood furniture pieces broke our hearts. 
Although not salvaged, this table came close to second. 
It has extenable wings on both sides that could easily fit 10 - 12 people. 
(If only we know how to cook for so many....)
The opening between living room and kitchen created a nice flow of energy on this corner. 
There are still a lot of details missing in the living room. 
We need a few accent tables, an armchair by the TV armoire, 
and I know exactly what style of mirror I want to hang on the wall by the dinning table. 
We are not in a rush though... I like taking my time to fill up these personal touches. 
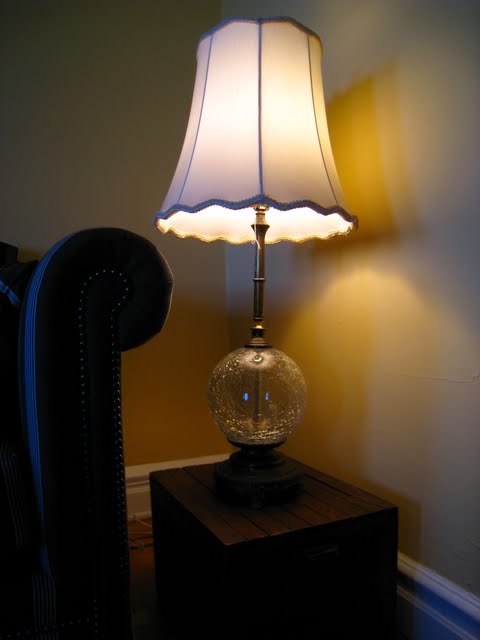
Here is the new addition: A lamp that we found in a antique shop in Cape Cod. 
The lamp is sitting on a wooden box until we find the right accent table. 


Tuesday, August 17, 2010

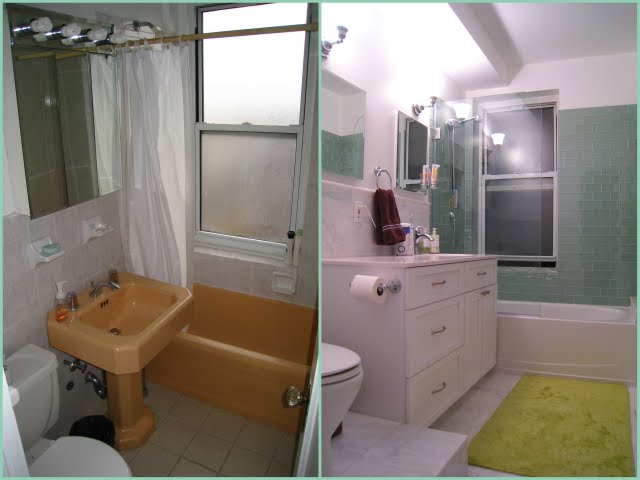
Project 6D: Bathroom


BEFORE & AFTER


Bathroom was the most challenging part of the whole renovation for us.
There was tears, screaming matches (with the management company), and many sleepless nights.
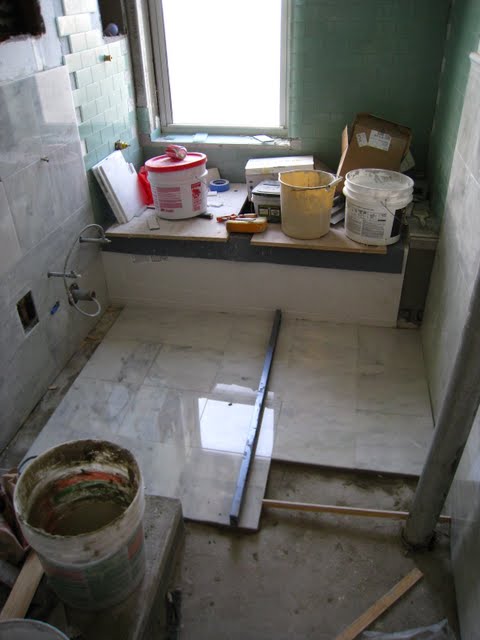
The original bathroom was very small and outdated with ugly tiles and yiky peach color sink & bathtub.
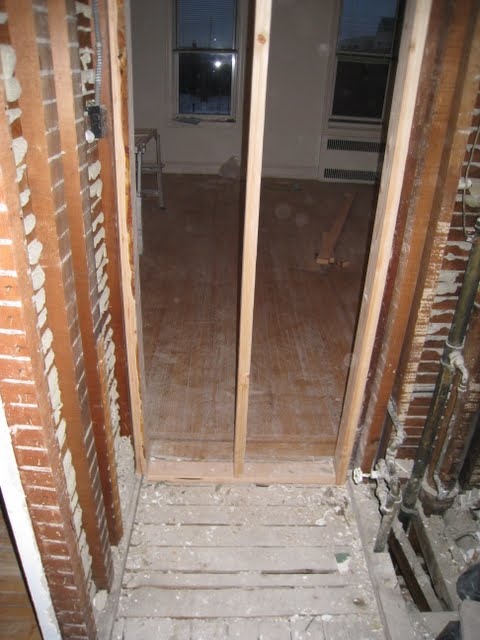
I wanted to break down the master bedroom closet wall and incorporate the space into the bathroom.


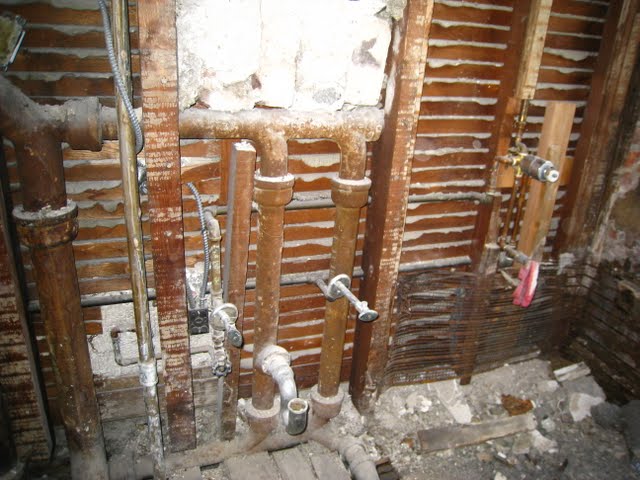
The hard part was to move the toilet to the closet space.
We did not know if the building structure allows such a move.
Licensed plumber who charges outrages fees must be hired.
The worst scenario would be that an engineer and an architect's drawings will be required
for complicated, costly, and time-consuming paperworks & city permits.


It was our first time dealing with the co-op board & management company,
and we were clueless about the proper procedure and best way to handle such complicated matter.
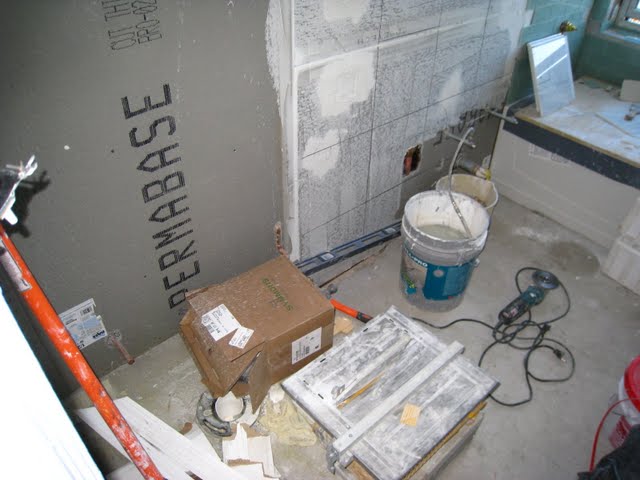
The bathroom renovation was stalled for a whole month and we were having nightmares about the bathroom.


It was a huge relief and very happy day when we finally made some progress.


H got his glass tiles for the bathtub and I got my marble tiles for the rest of the bathroom.


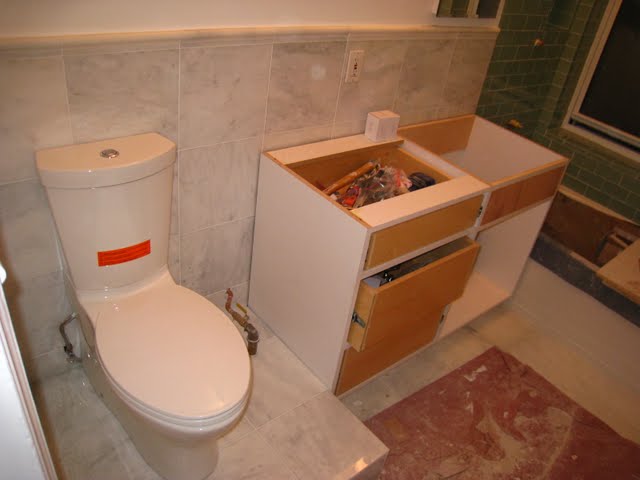
The vanity cabinet was custom made for extra counter space so both H & I can get ready at the same time.
Because of the structural beams underneath,
the toilet needs to be elevated on the platform so the pipes can be properly extended to the new location.


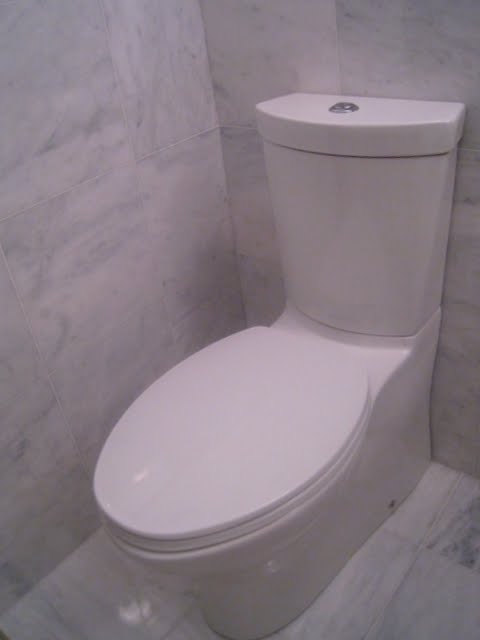
I chose this toilet for its clean look and sleek design.
There is no gap between the toilet and the wall so no dust can be cumulated behind the toilet.
The dual flush button conserves water and is very quiet when flushes.


I wanted a recessed wall-shelf to store the shampoos & shower gels and hide them from the plain sights.
Using the partial glass partition to make the bathroom feel more open and airy.


Being slightly obsessive-compulsive to keep my hands clean,
the single handle faucet allows me to easily turn on and off the water with one hand, or even just the wrist.
The high arch design gives me enough room to wash my hands without touching the sink.
Of course, the integrated sink allows easy cleaning.


Every single bathroom accessory was carefully picked out and planned for its location.


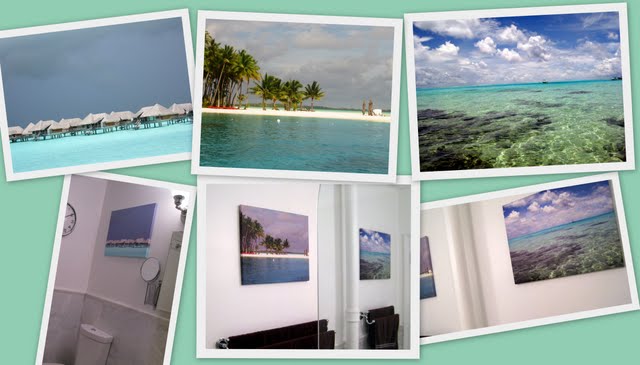
I picked a few of our honeymoon pictures from Bora Bora and made them photo canvas for the bathroom.
They were so relaxing to look at, and bathroom seemed like the perfect home for them.


In the past, I never took a bath in the rental apartment because:
A: there was no windows.
B: the bathtub was old and the grout and tiles looked dirty.
C: the bathtub was next to the toilet or exposed sink pipe.

Now, for the first time I feel comfortable enough to take a bath in my brand new bathtub in my brand new bathroom.
Ideally, I would prefer to have a separate shower and a craw feet stand along bathtub,
but I guess I will have to wait for the next apartment. :)


Monday, August 9, 2010

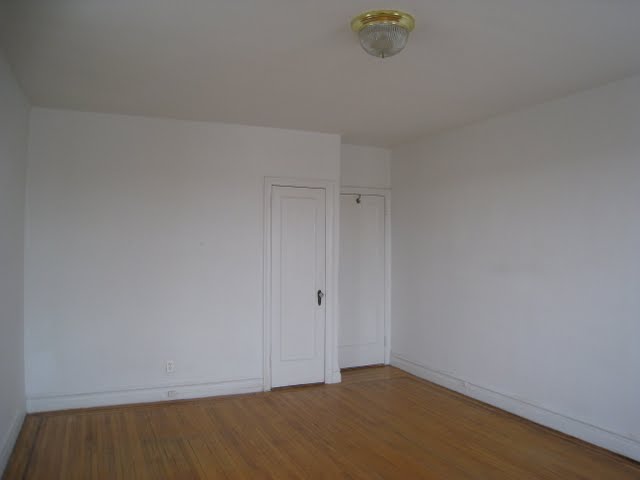
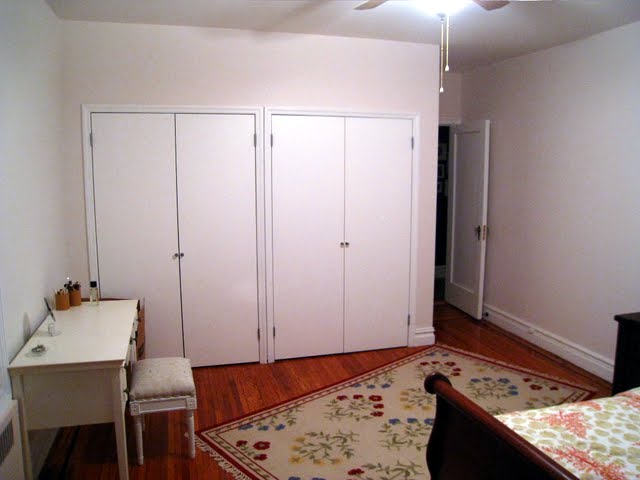
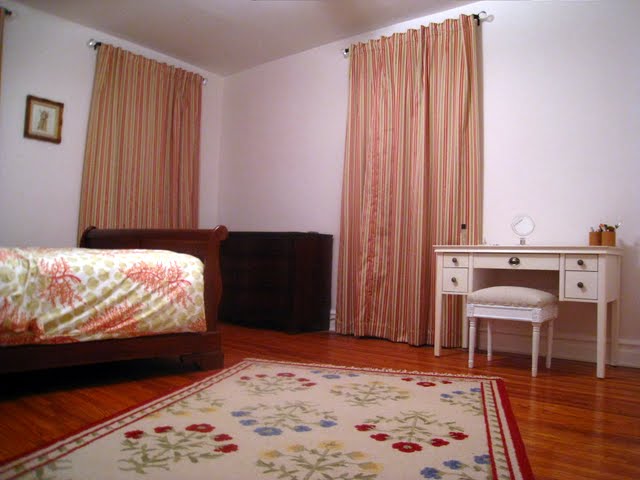
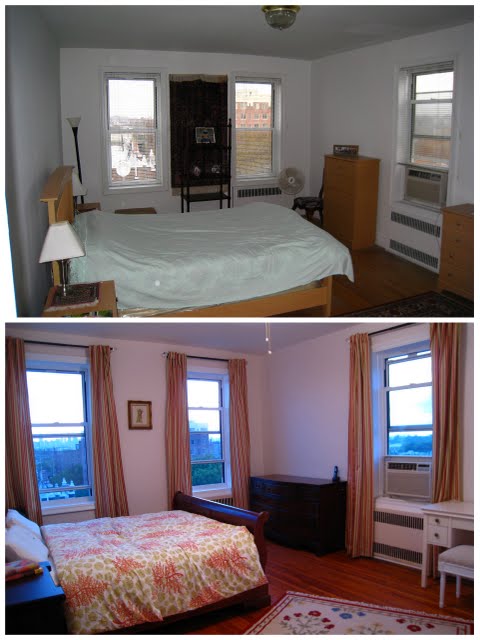
Project 6D: Bedroom


BEFORE & AFTER
The association probably has no base at all,
but the bedroom reminds me of apartments in Paris after the window treatments were installed. 

The original bedroom has a tiny closet about 30" by 30" big.  It was completely useless.


I wanted to: A. seal off the closet door,  B. allocate the space to the bathroom expansion,


and C: build a bigger closet on this side of wall after the original closet was sealed.


The end result is that I now have a 10 feet long closet,


and still have plenty space in the bedroom.


I really adore the original crystal glass door knobs that belong to the apartment. (Picture shown on the left)
To match the style, I ran around all the hardware stores in Manhattan, Brooklyn, and Queens looking for closet door knobs on hot & humid spring days
and thinking to myself, "why do I torture myself over some stupid door knobs?" (Picture shown on the right)


We spent the least amount of effort on finishing our bedroom.
The walls are still too bare. We still need to buy bedside lamps.
There is this way-over-my-budget delicious vanity mirror that I am drooling over.
And eventually I would like to get a king size bed since we do have the room for it....
The list goes on. But for now, it will do.


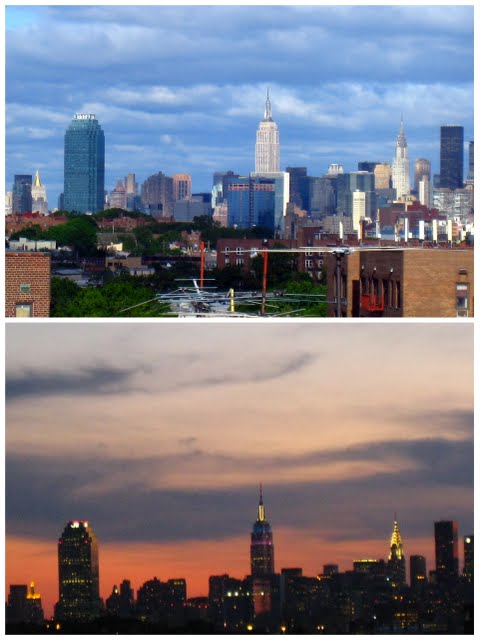
However, one thing that can not be replaced and I hope will never change,
is the view I see when I wake up and before I go to sleep everyday.


Okay, I MIGHT exaggerate a little.
The pictures were zoomed to get the closer shots of Empire State Building.
But even without the zoom, the view is still pretty darn good.

PS/ Just bought this unique lamp from an antique store in Cape cod.
The lamp is sitting on my night stand for now.


Wednesday, July 28, 2010

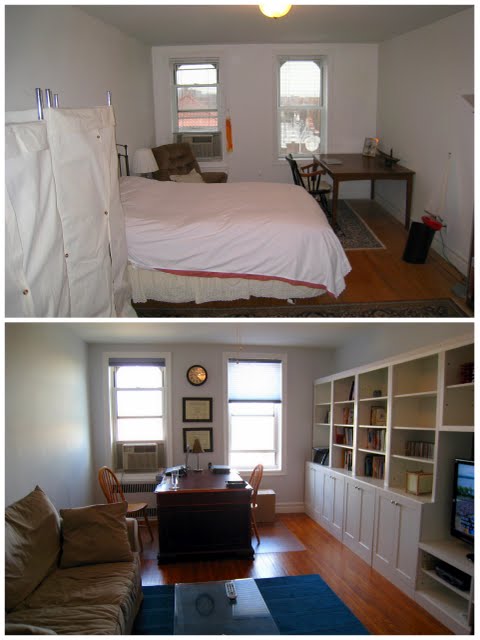
Project 6D: Study


BEFORE & AFTER

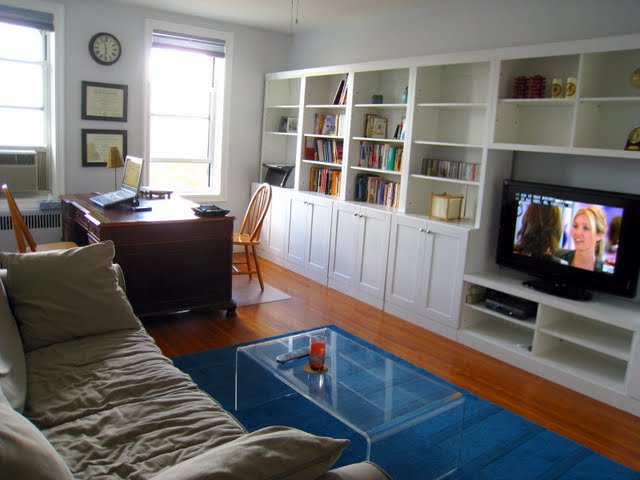
 We added a closet in the study as the original closet was very small. 


One of the things that H & I love to do on our pass time is to walk around the city.
We often peek through windows of buildings and townhouses to see other people's apartments.
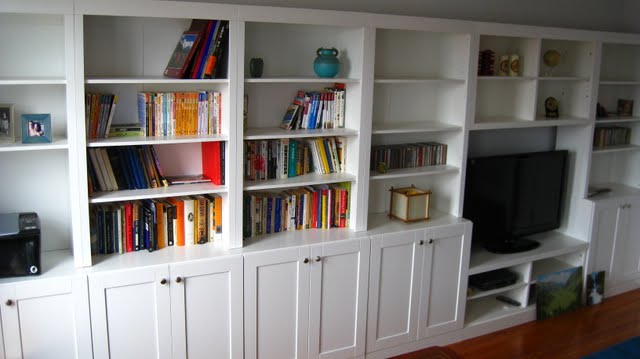
Built-in shelves are common sights and they felt very New York to me.
I really love those wall to wall built-in shelves. (The one with ladder attached is even more dreamy!)
They are aesthetically beautiful and functional.


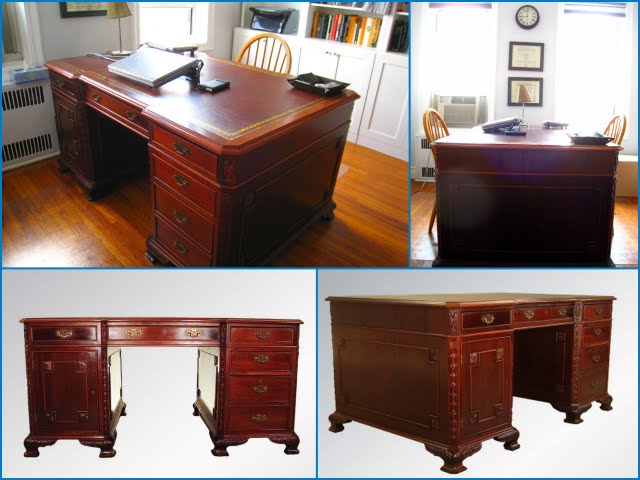
H fell in love with the leather top partner desk. We were excited when the desk finally arrived.


We still need to find the proper desk chairs, replace the sofa bed, and get new lightings to make the room complete.
The study feels cozy and calm, and I love spending most of my time here.


Can you guess which side of the desk I sat?  Ya, the one facing TV. :)


Tuesday, July 20, 2010

Project 6D: Hallway


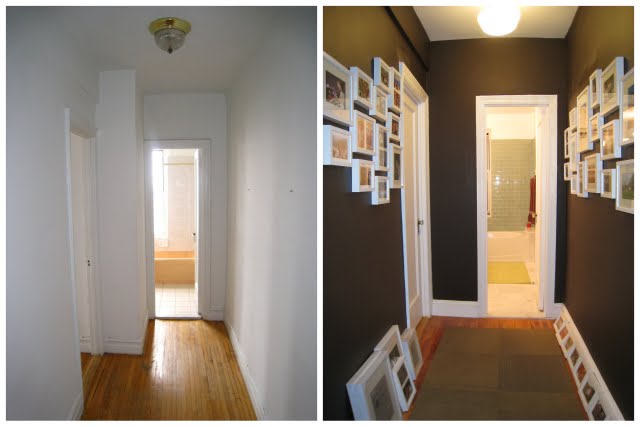
BEFORE             &              AFTER 
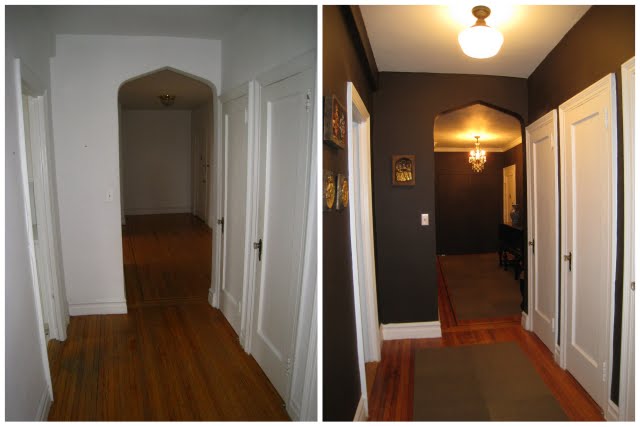
Entrance leads to this section of the hallway which connects to the kitchen, three storage closets, and the study.


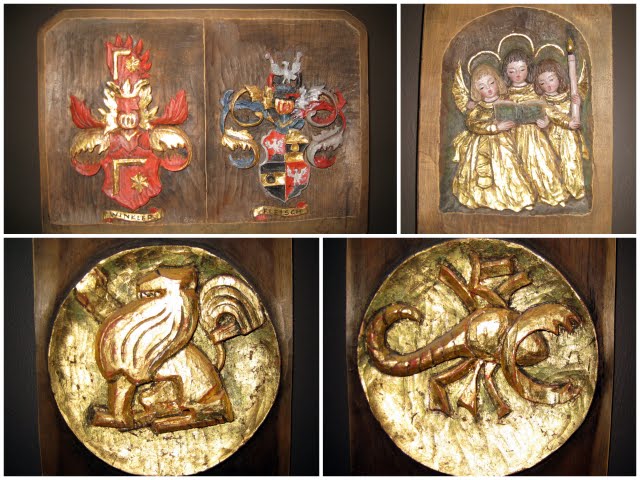
H's grandfather carved the three angel on the upper right corner.
The family crests and  our zodiac signs were H's mother's works.


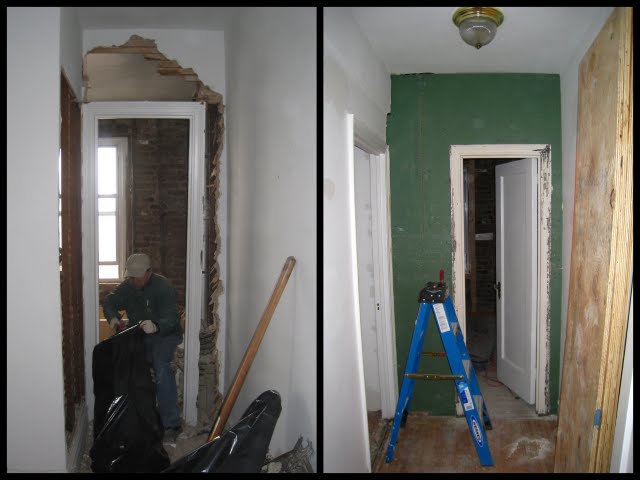
BEFORE             &              AFTER 
The end of the hallway connects to the master bedroom and leads to the bathroom.


To enlarge the small bathroom,
we moved the bathroom door and shorten the hallway in this section.


I was really happy to have found this adorable ceiling light for the hallways.
It is a reproduction of the schoolhouse-style shade from the era of 1925 to 1935 with a twist of hand-painted stripes.


The dark rich cocoa color paint matched the wallpaper on the accent wall at the entrance. 
I wanted a bold color in the hallway to be the backdrop of all the paintings and photos we put up, 
and to be the contrast to the rest of the apartment which is light and airy with plenty of sunlight. 
It was a risky decision, and I was nervous about how it would turned out.
I am relieved to say that I like it.  Do you?


Monday, July 12, 2010

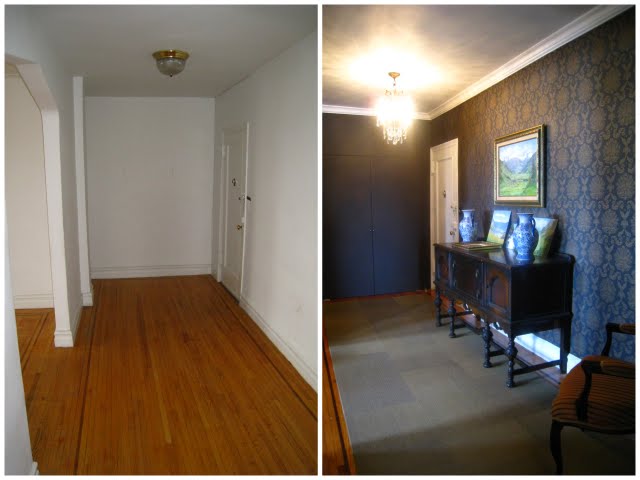
Project 6D: Entrance


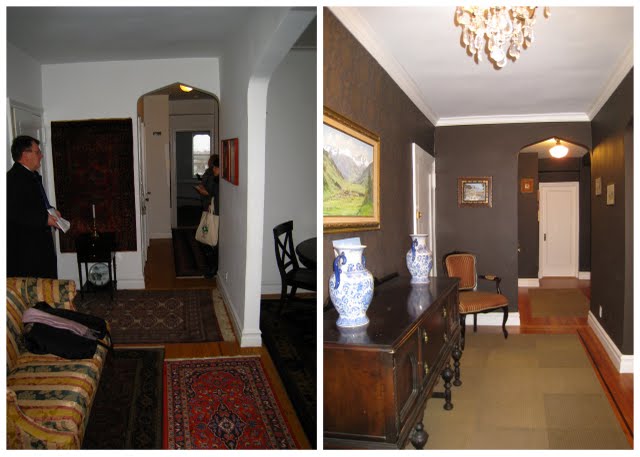
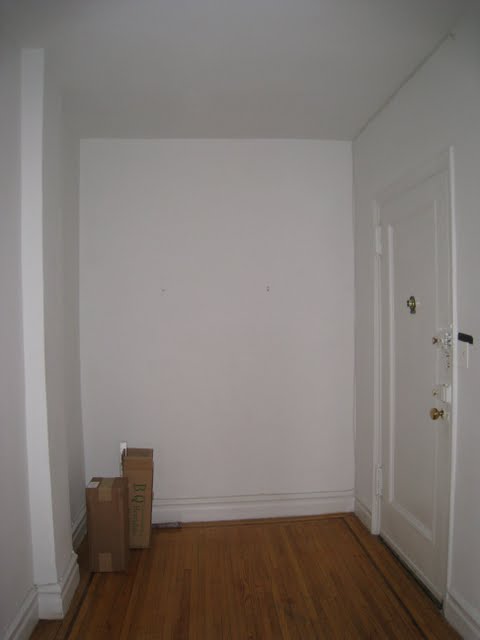
BEFORE                 &                 AFTER


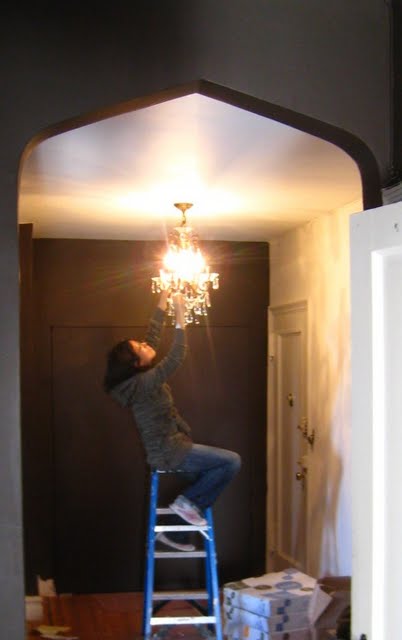
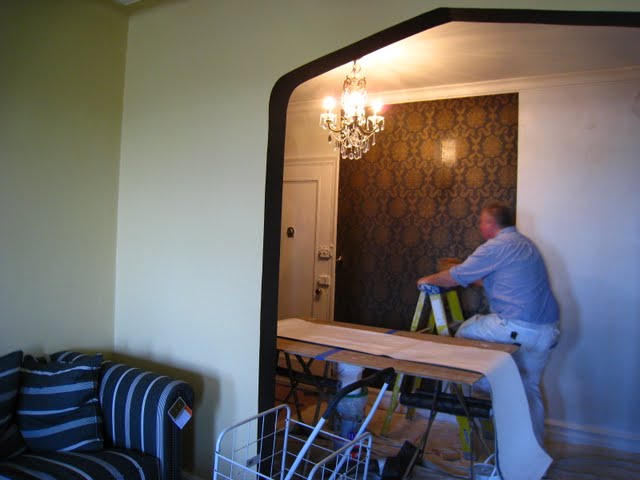
Two things I know very early on that I wanted for the entrance:  Chandelier & Wallpaper.


The rest of the entrance & hallway took shape once we had the wallpaper picked out.


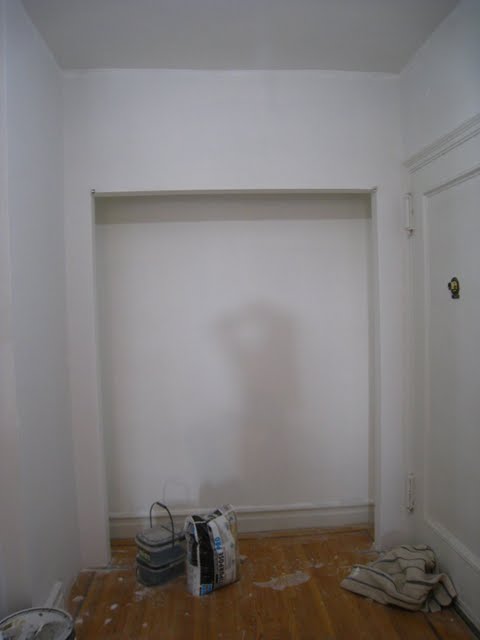
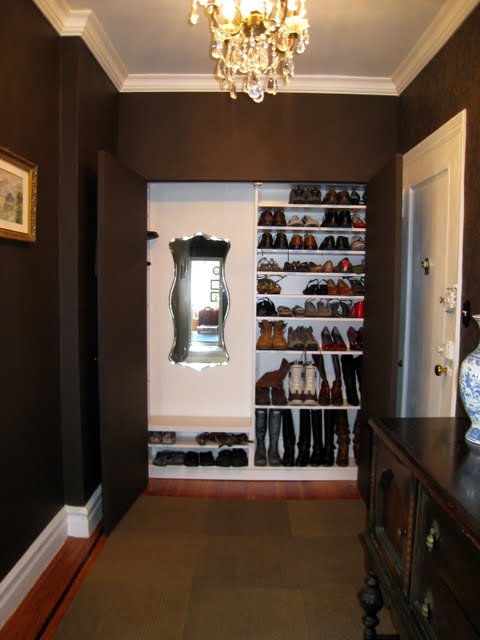
I also wanted to add a shoe closet in this corner behind the entrance door.


95%  Completed: waiting for the coat hooks to be installed and bench cushion to be made.                                      


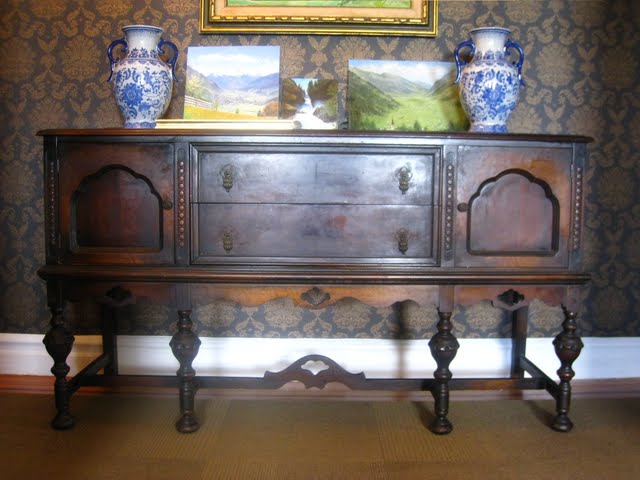
We were so happy to have found this Jacobean sideboard in a local shop that fit perfectly in  the space.


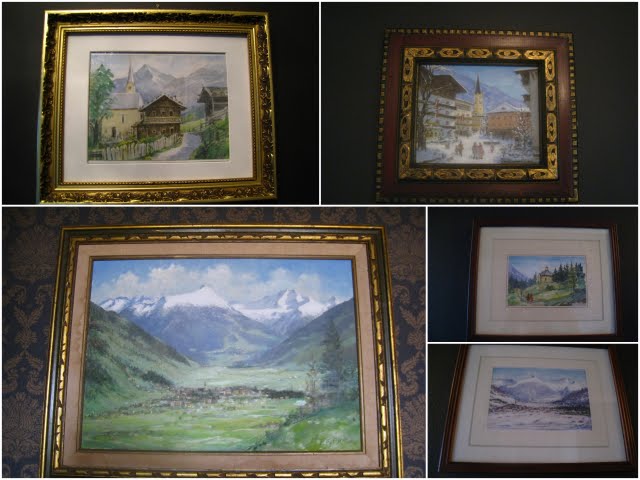
The entrance space hosted a collection of H's grandfather's oil and water paintings.
Most paintings were the sceneries of Gastein, Austria.
A few more paintings will have their spots on the wall once they are properly framed.


We added crown molding to dress up the ceiling.  It made the room so much prettier.
The wallpaper was a lot of fun.  I would do it in other rooms if I have the money and time to find the right wallpapers.
The whole entrance reminds me of a different time and place, like London in the 19th Century.